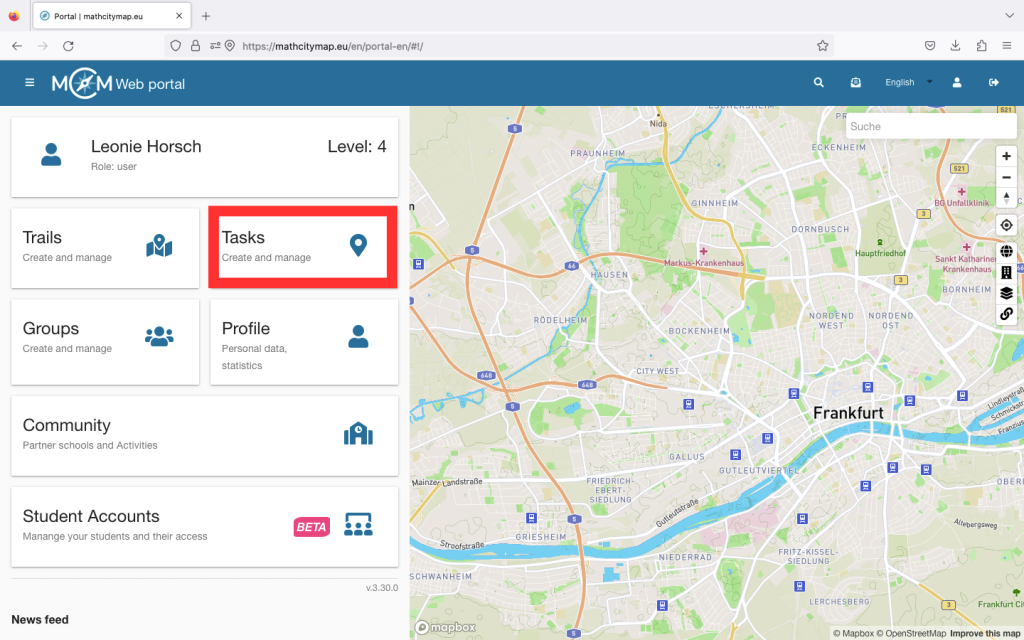
Step 1 – Open task area
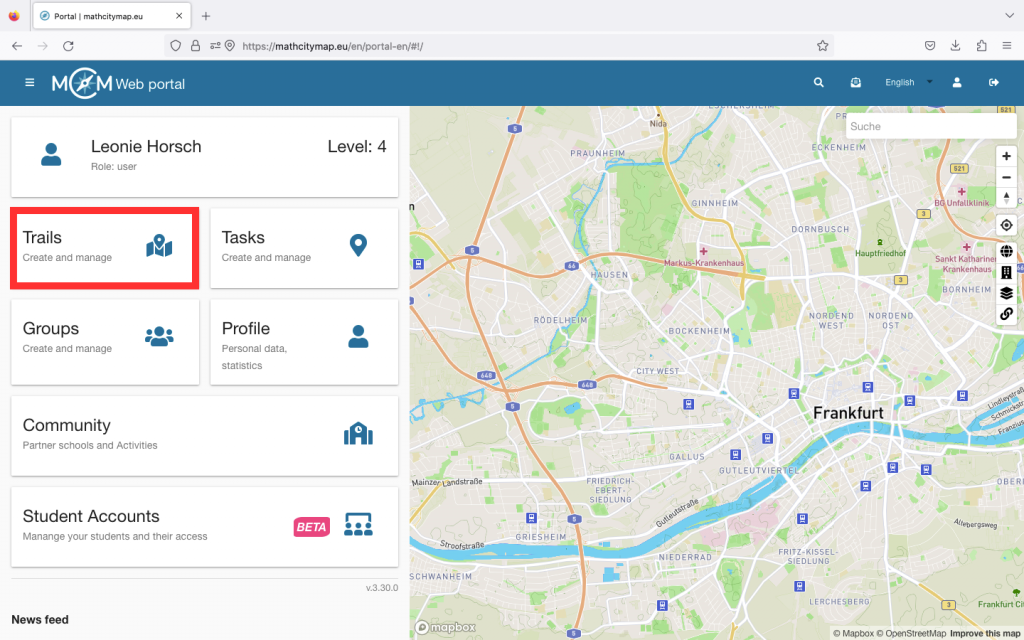
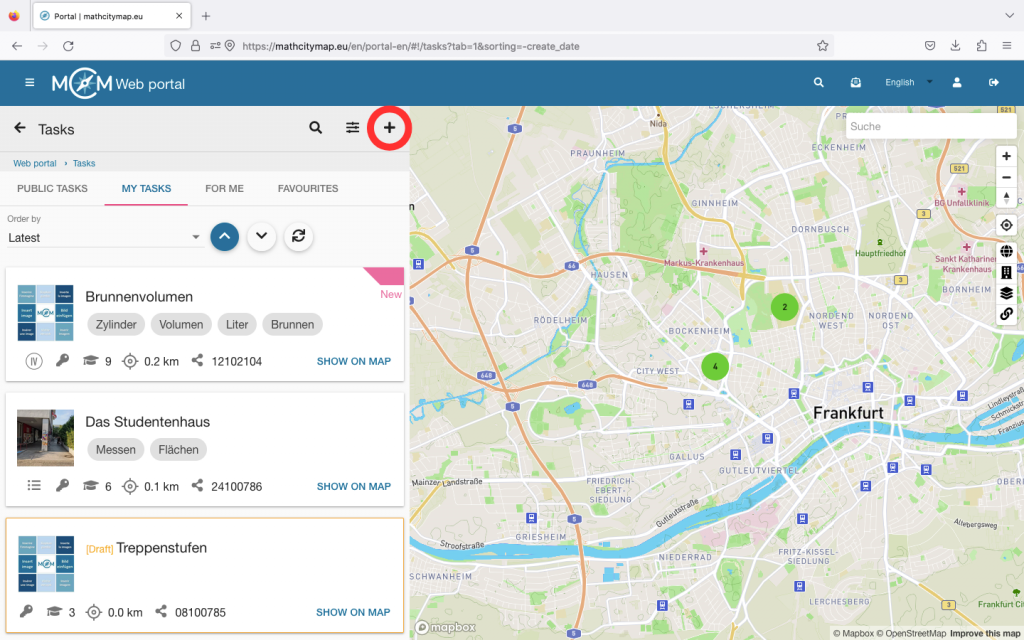
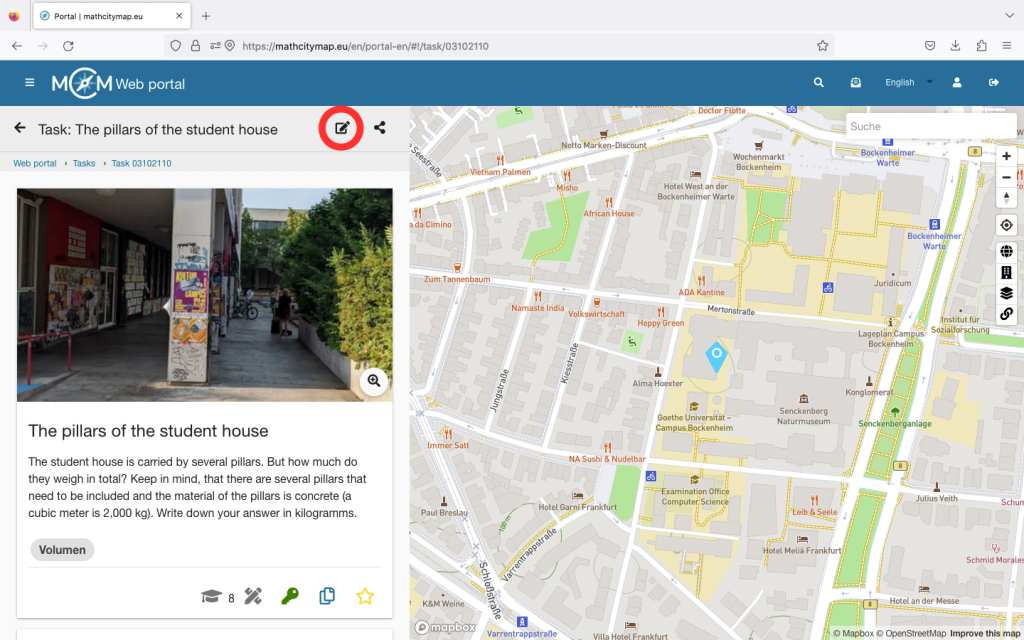
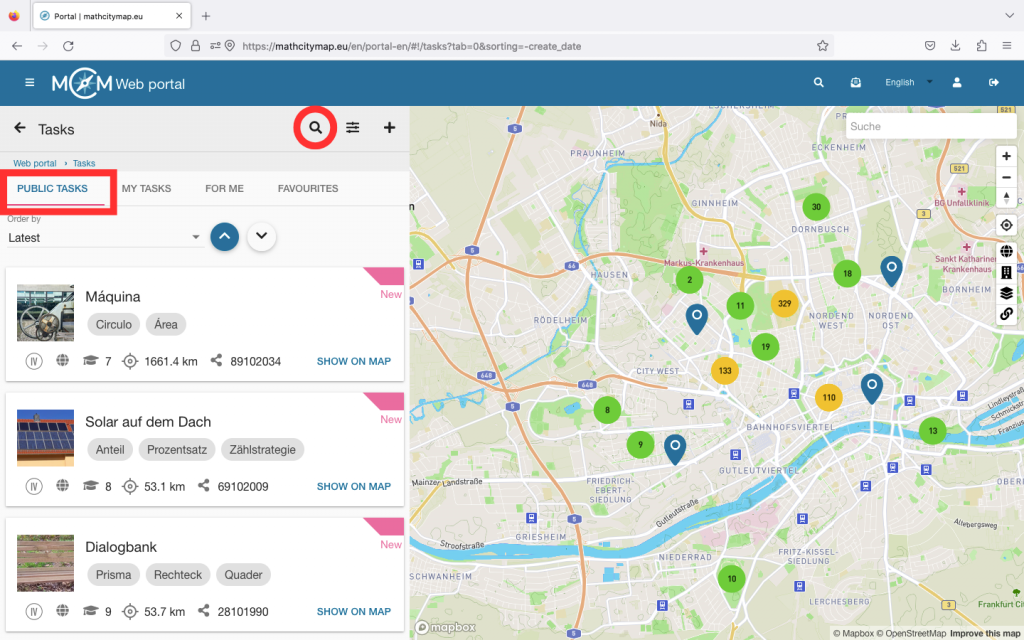
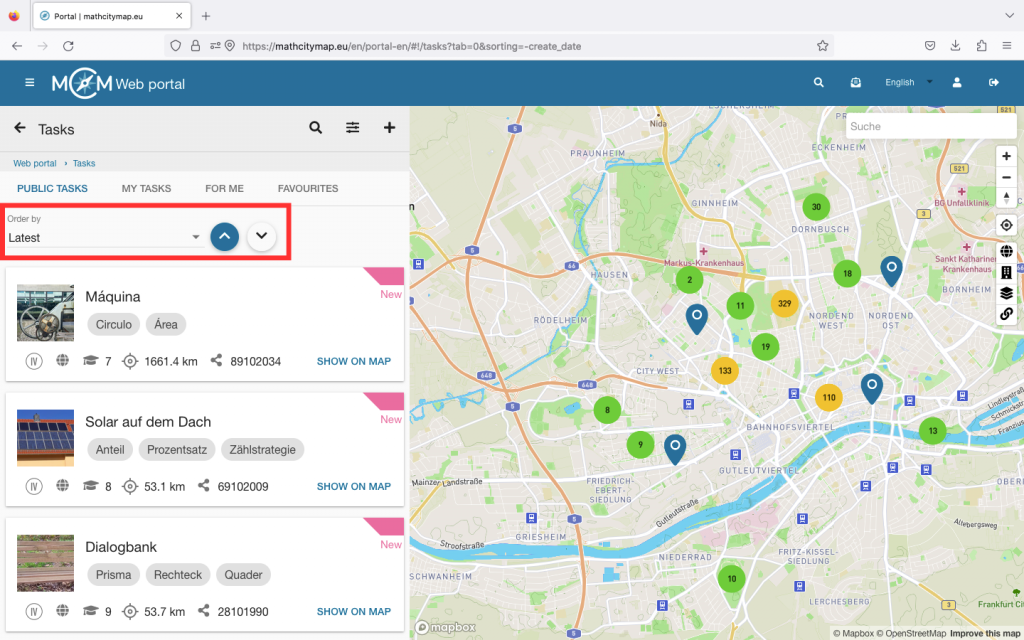
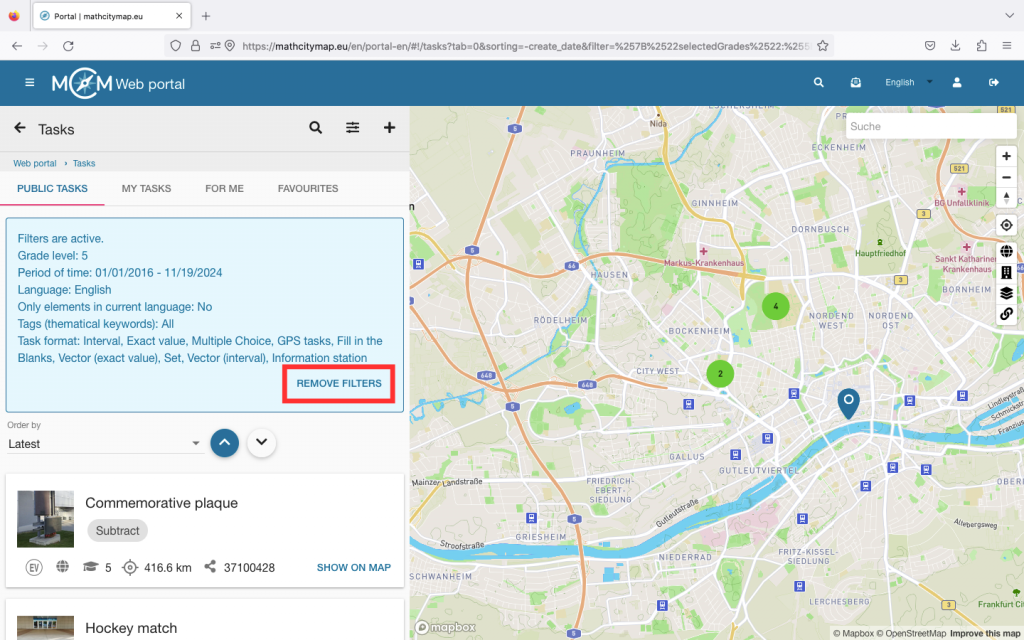
Go to “Tasks – Create and manage” and under “My tasks” select the task for which you would like to create support tasks.
This task then becomes the main task and can be subdivided by one or more support tasks.
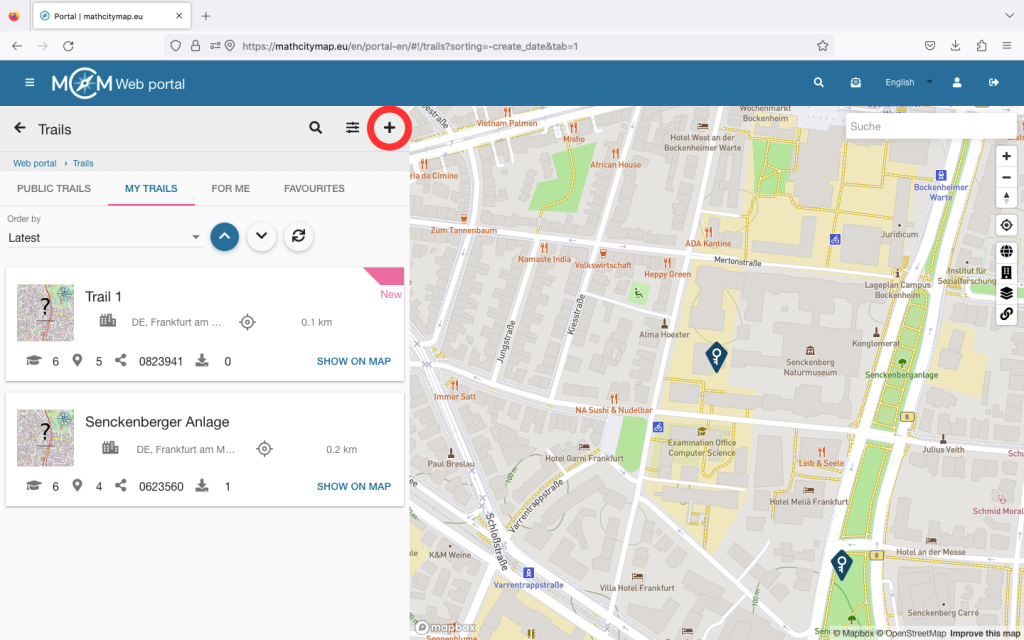
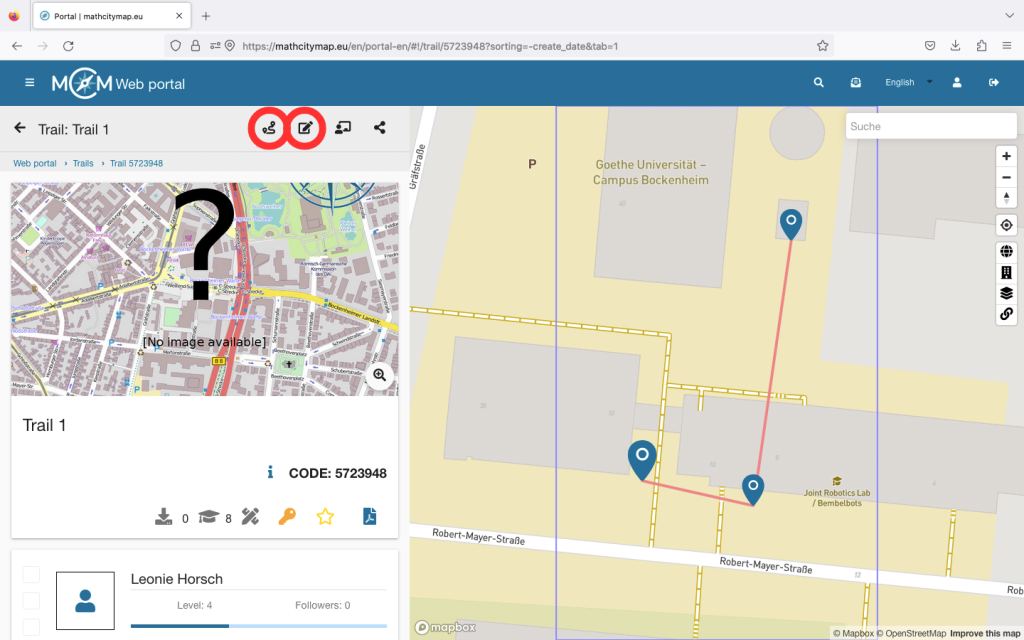
Click on the desired task and then scroll to the bottom.
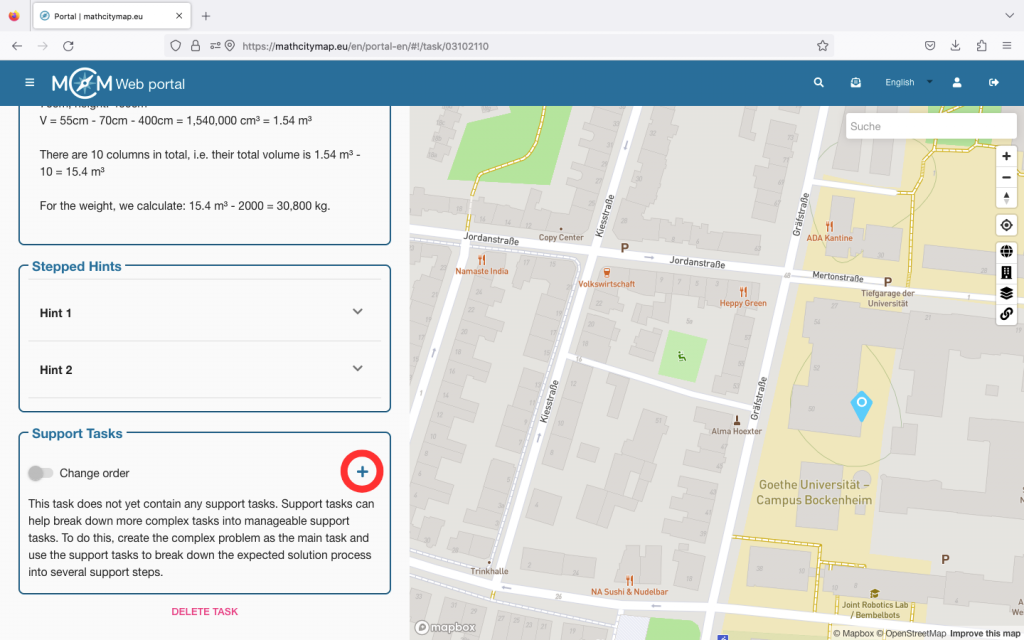
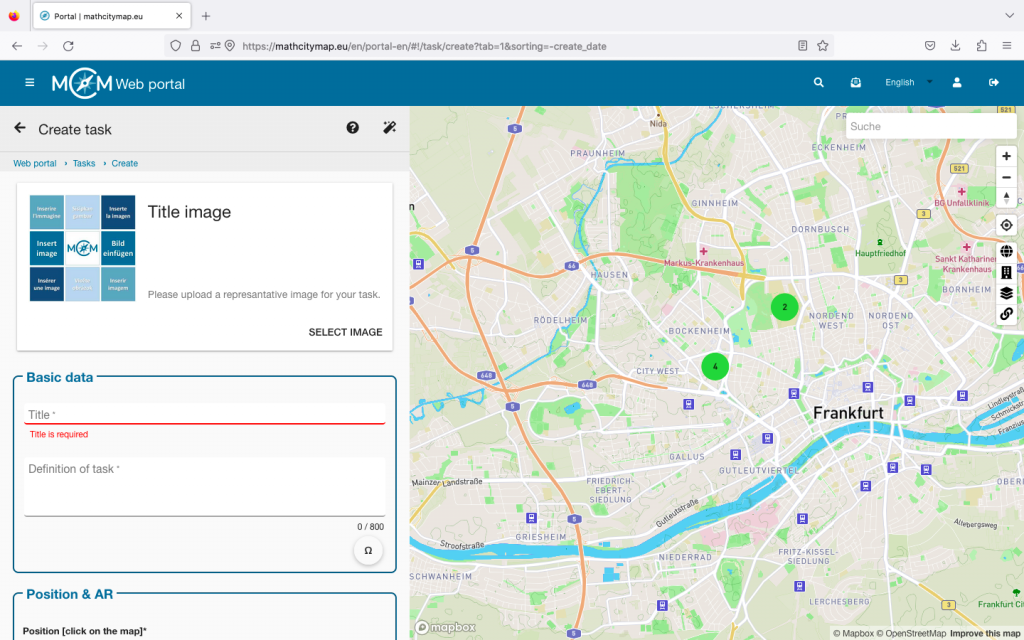
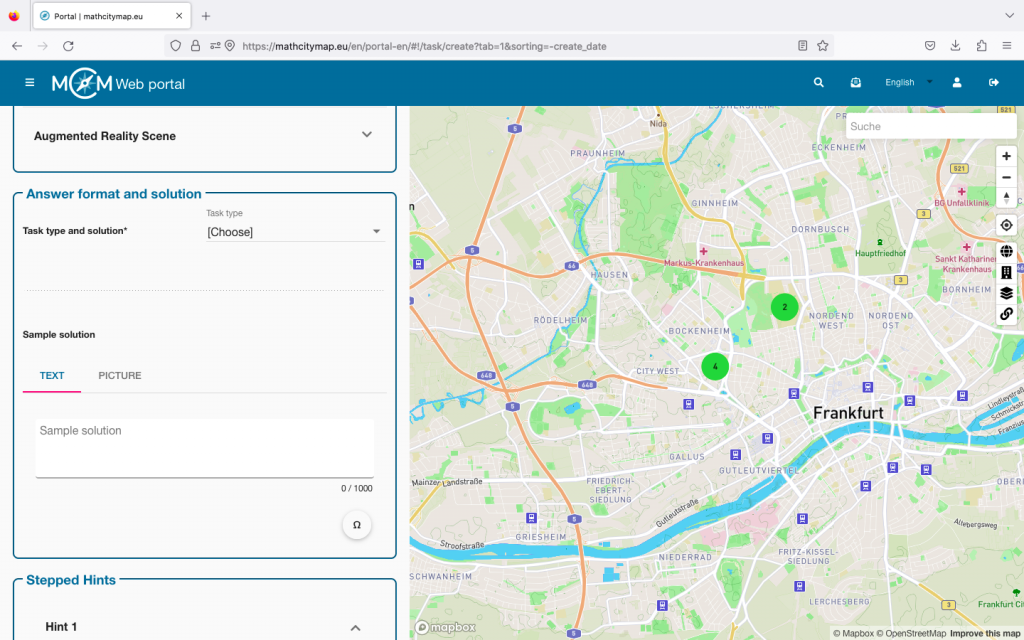
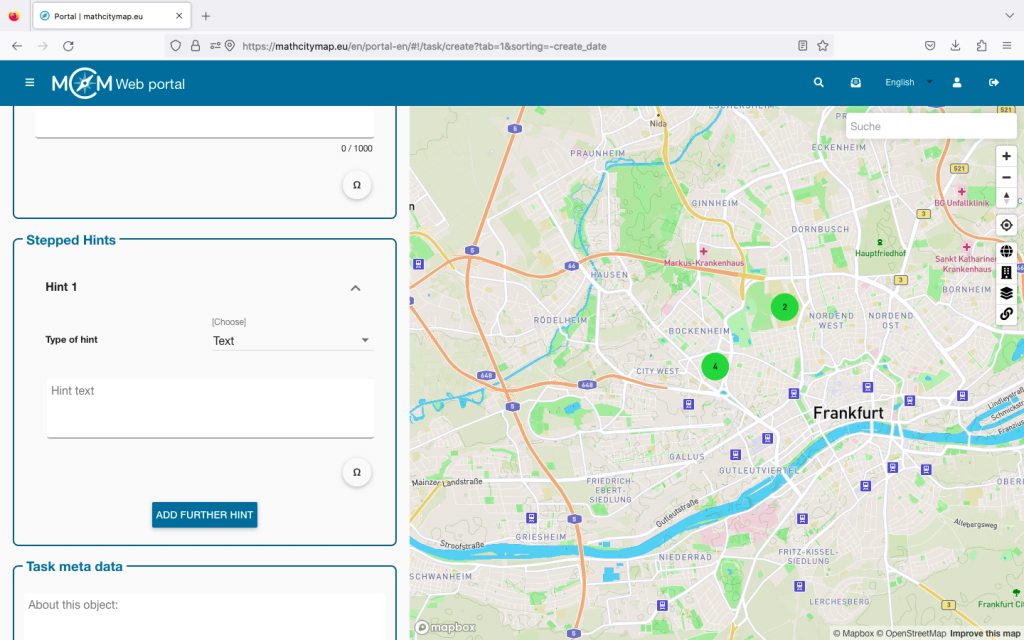
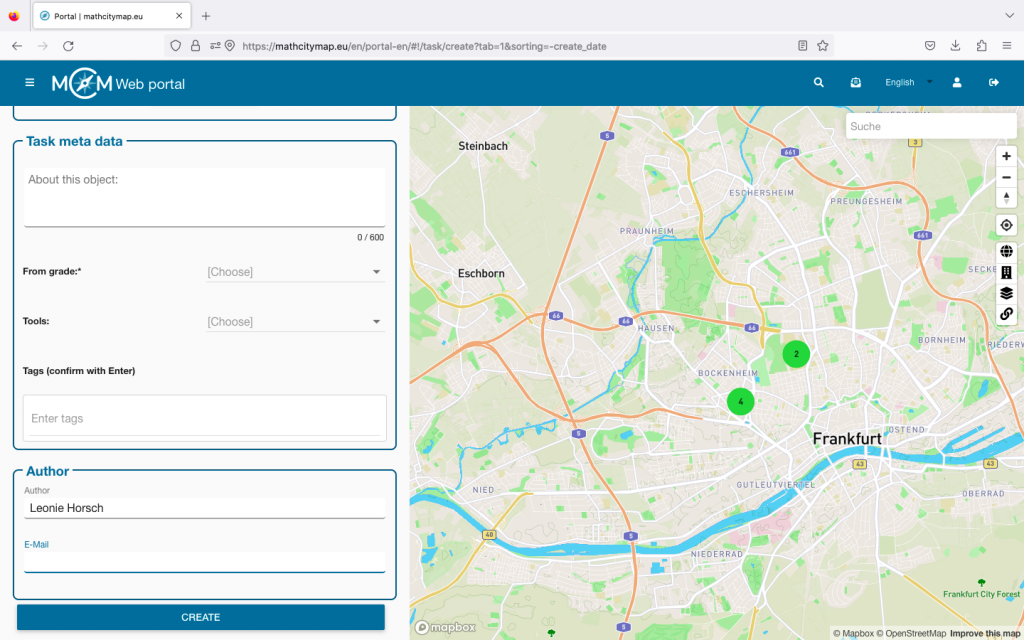
Step 2 – Create a support task
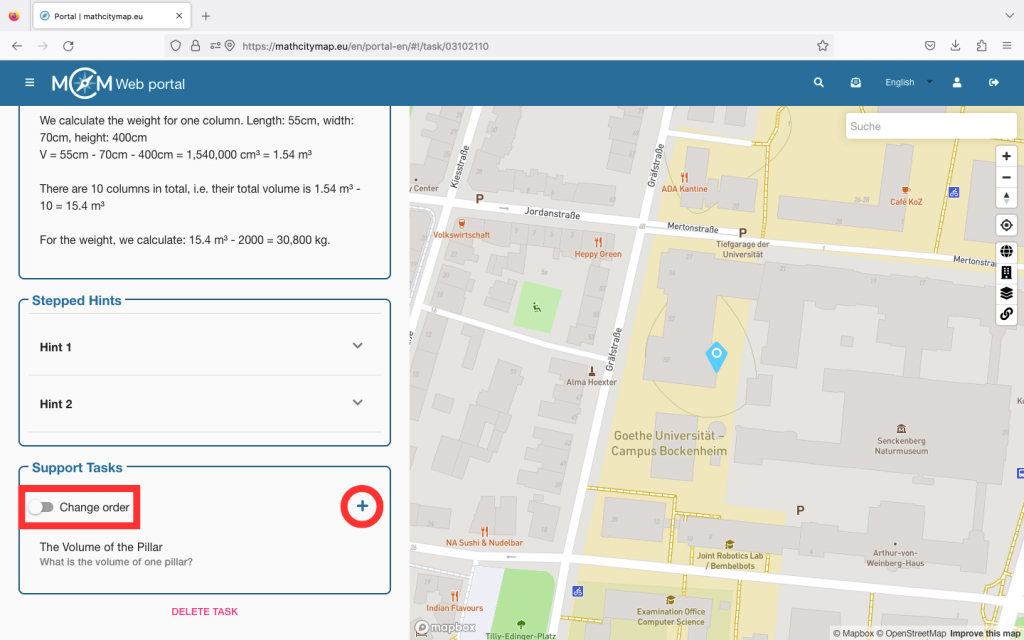
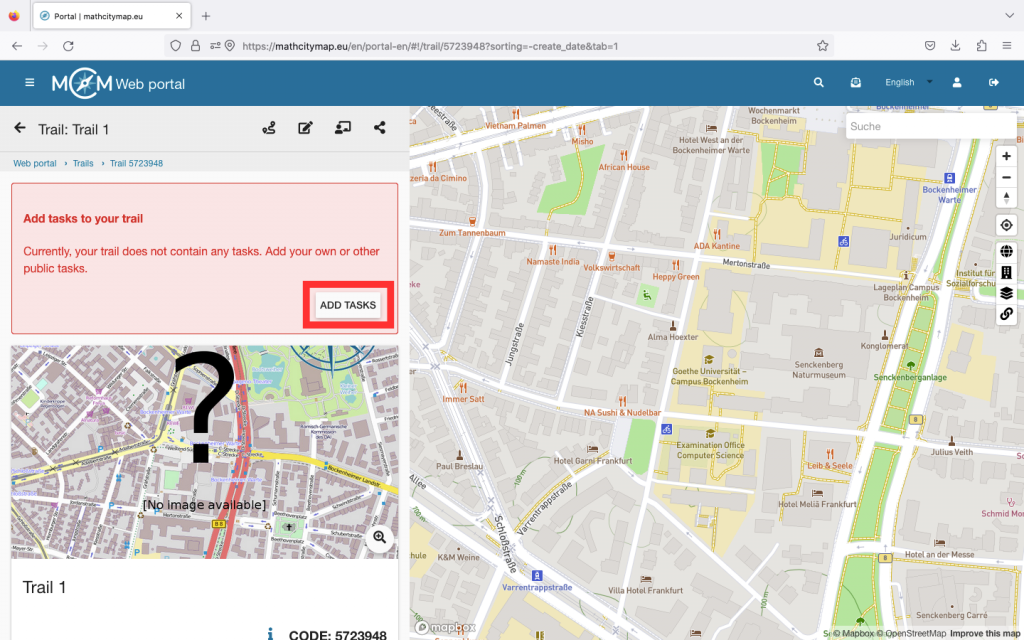
You will see a box with the title “Support tasks”. Click on the plus symbol on the right-hand side to create a new support task.
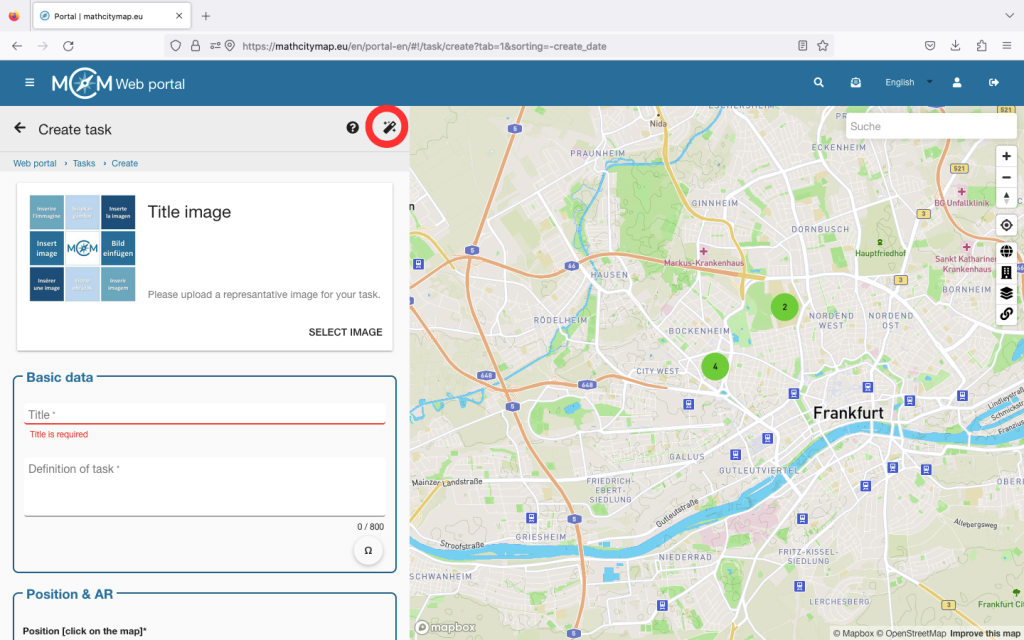
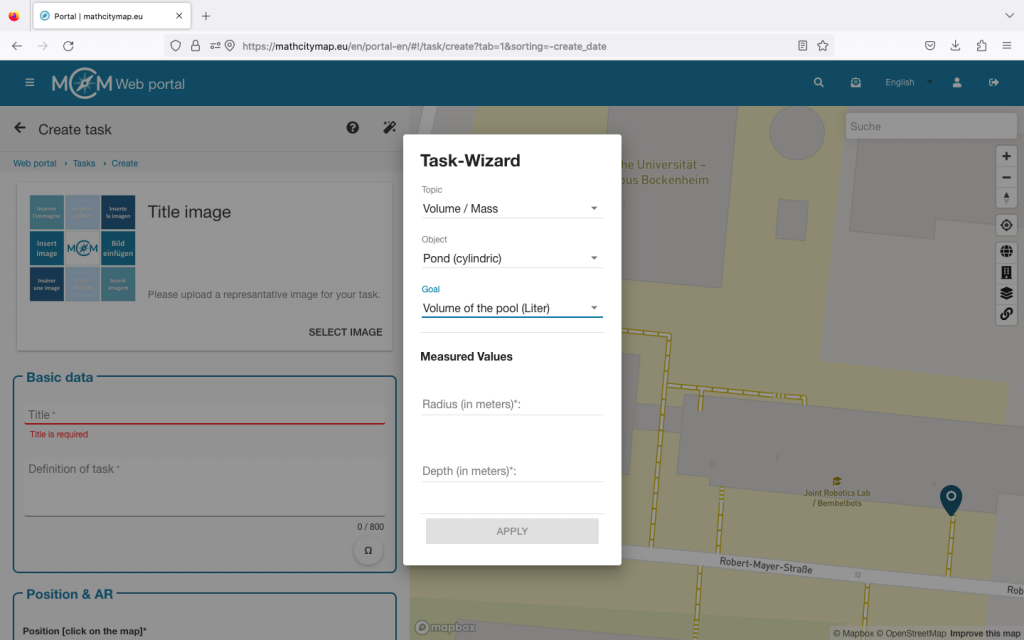
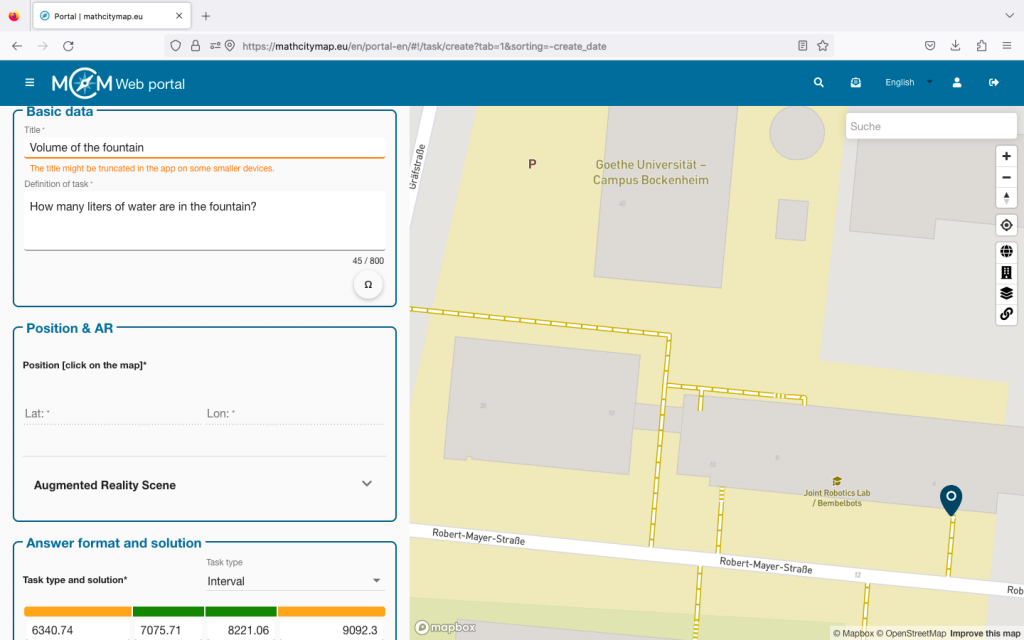
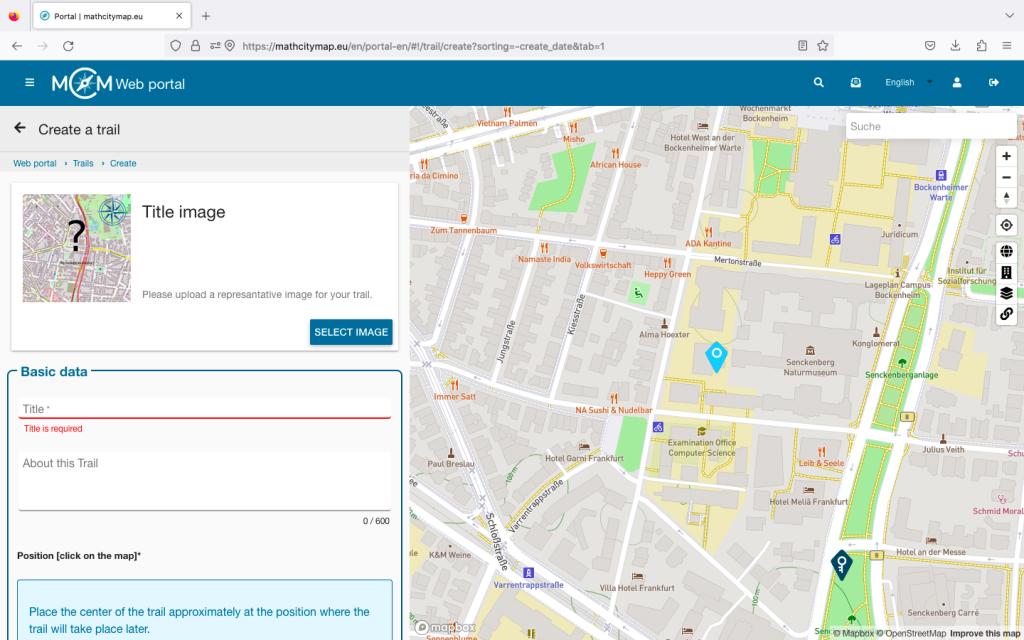
You will then be asked to enter all the basic information again, as when creating the main task.
You only do not need to enter the location, as this is the same as the one of the main task.
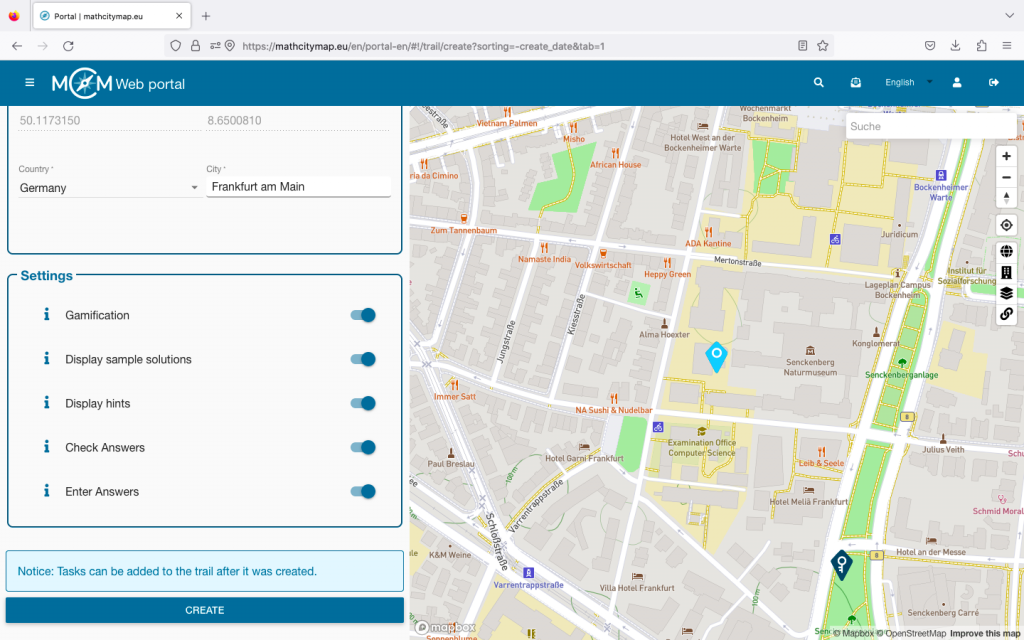
Once you have entered all the information, click on “Create”.
Step 3 – Multiple support tasks
For complex tasks, it can be helpful to create several support tasks. To do this, click on the plus symbol again and create another support task.
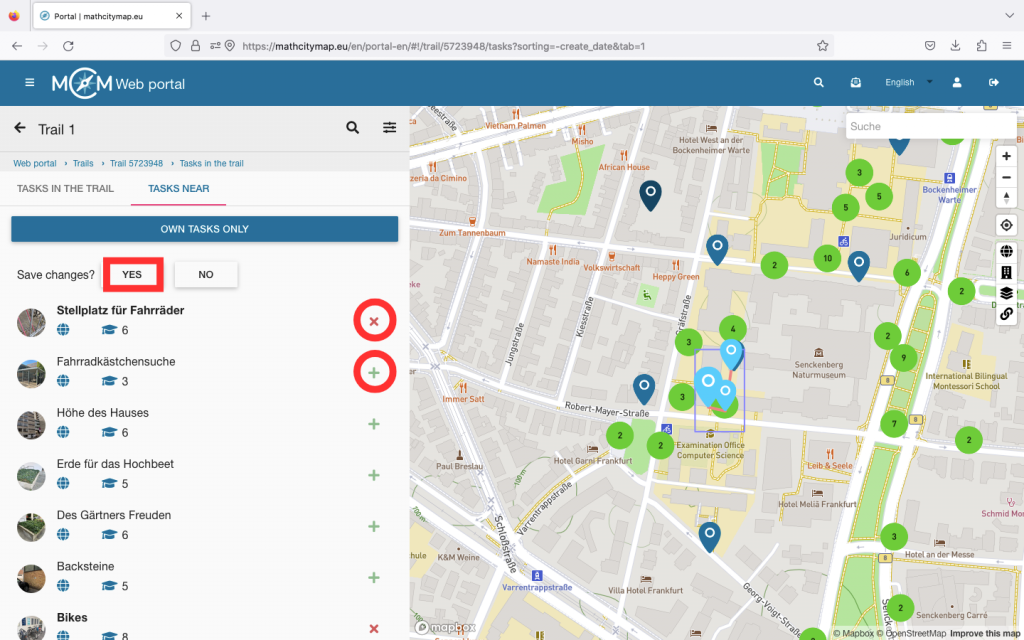
You can then determine the order in which the tasks should be processed. To do this, click on the “Change the order” button and move the support tasks so that they are in the right place.
Then confirm that you want to save the changes.