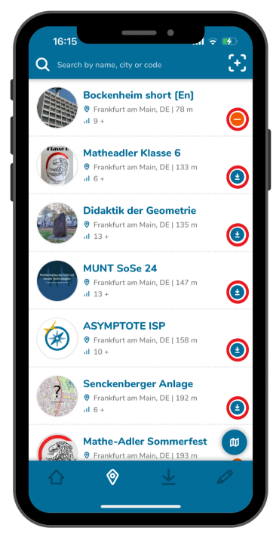
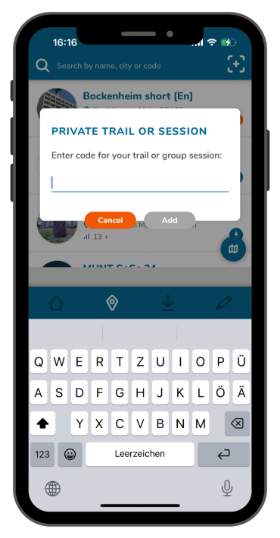
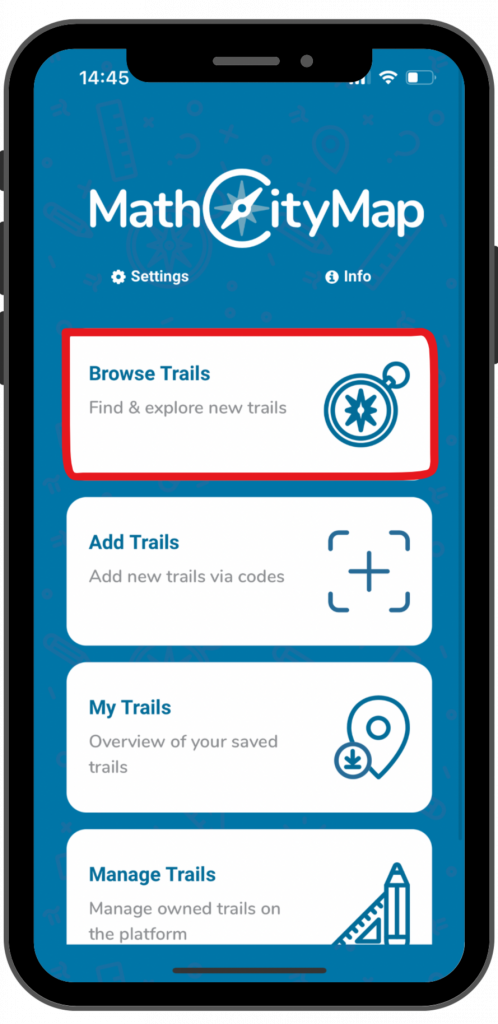
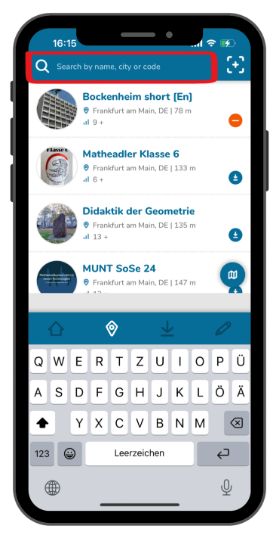
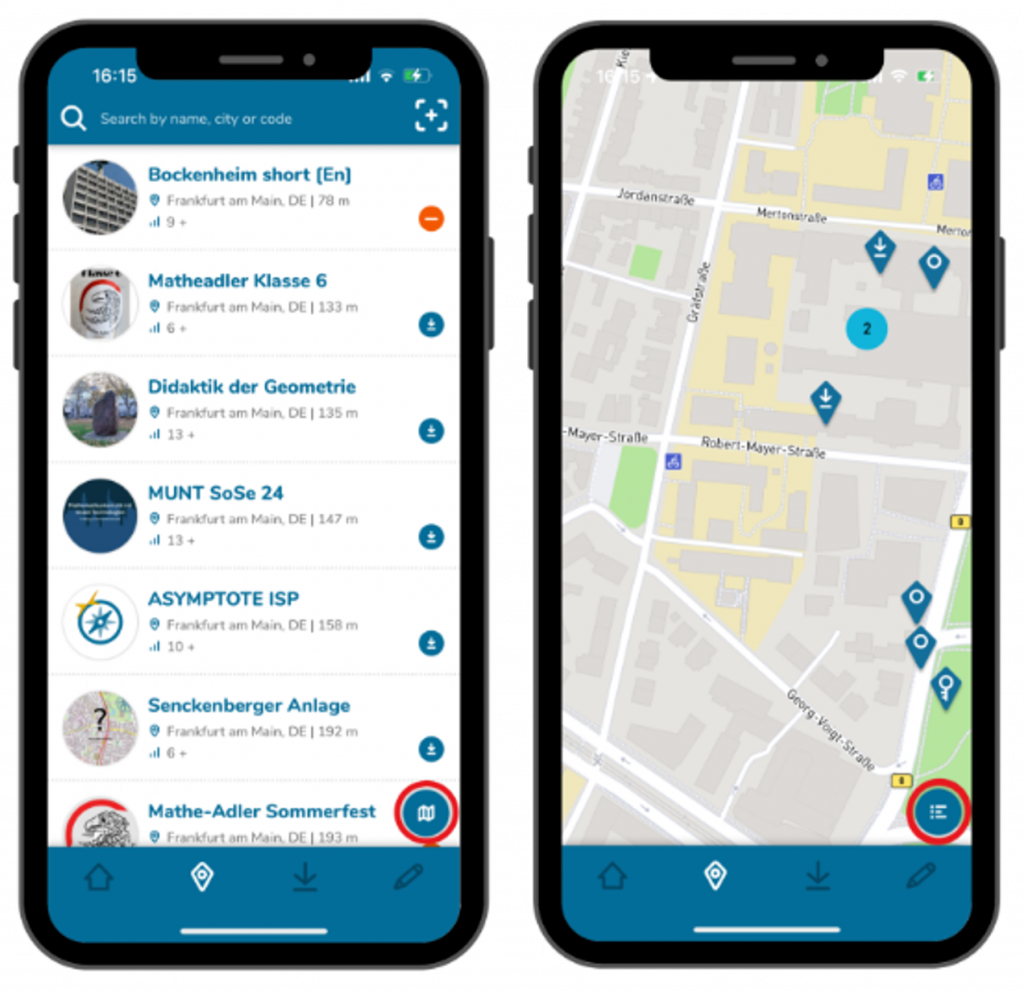
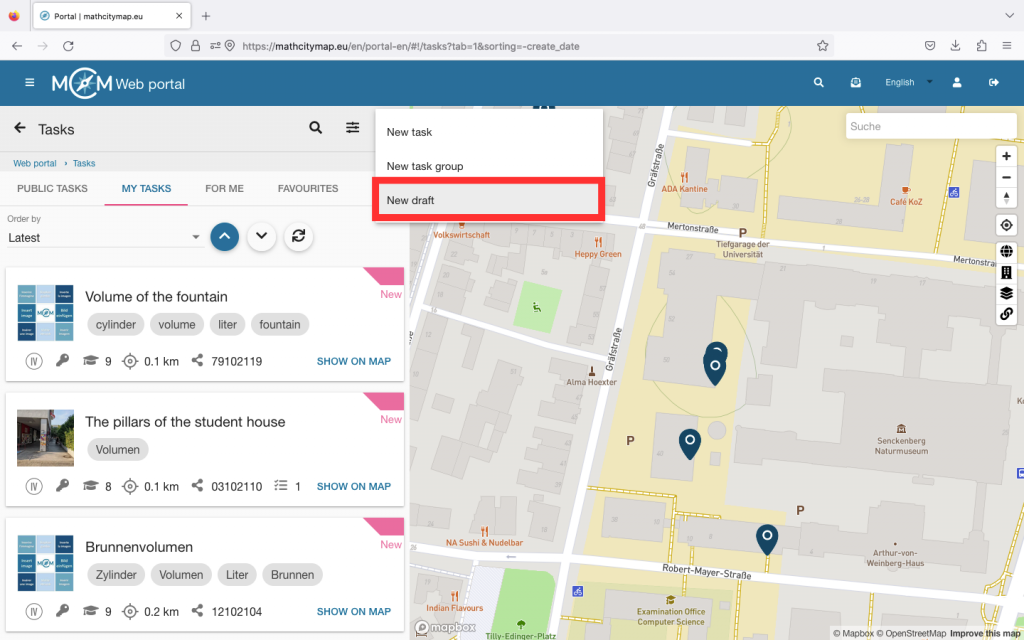
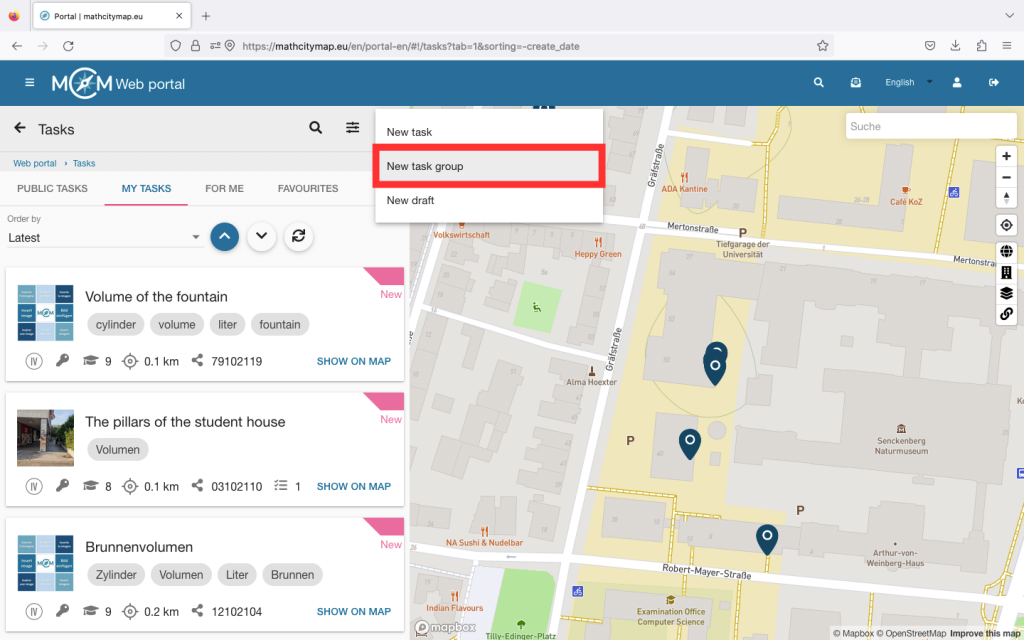
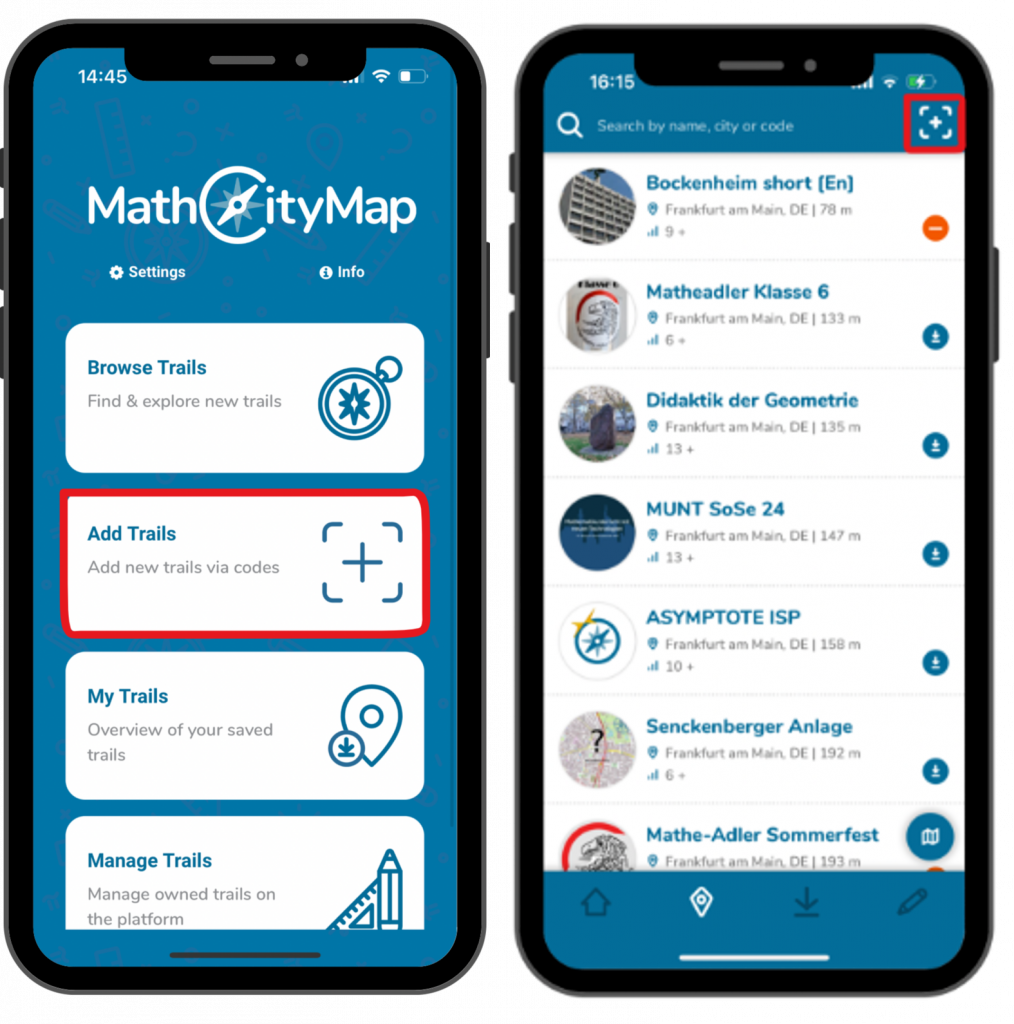
Step 1 – Open the Trails Section
Click on the “Add trails” field on the start page or on the plus symbol at the top right under “Browse trails”.
A window will open with the title “Private Trail or Session”.
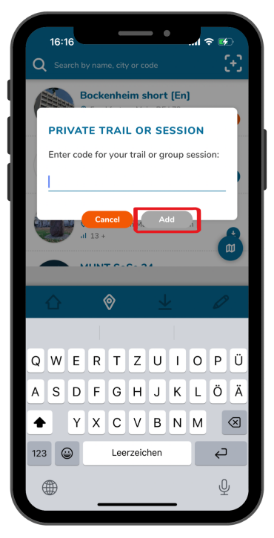
Step 2 – Enter the Code
Codes from digital classrooms differ from codes from regular trails in that they start with an “s”.
You will receive the required code from the person leading the session.
Enter the code and then click “Add”.
Step 3 – Accept Terms and Conditions
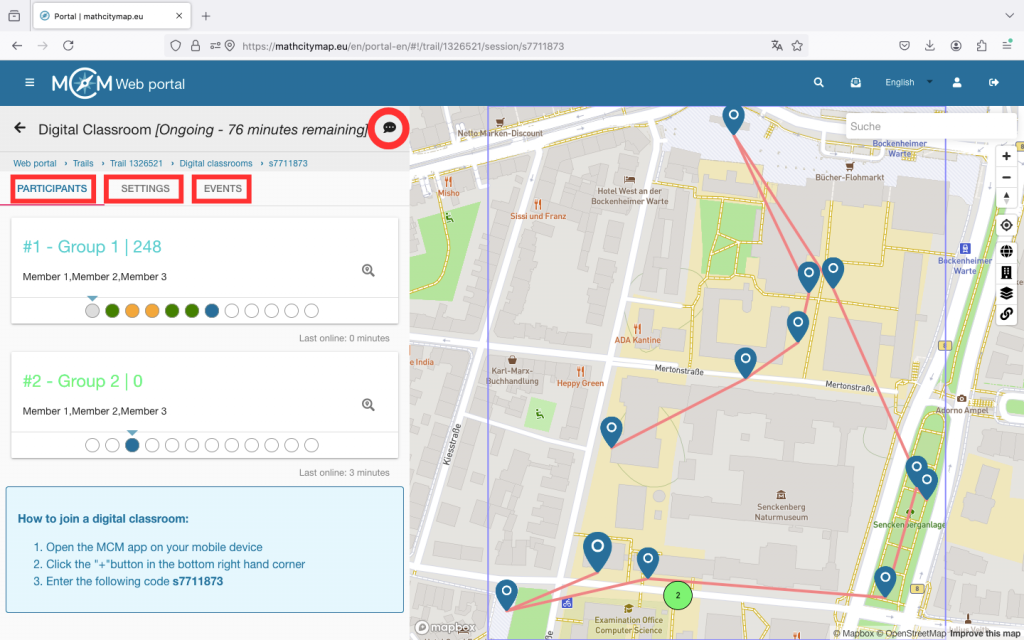
In the digital classroom, the person leading the session receives information about the location and trail progress of the participants.
Participation in the digital classroom is only possible if these terms of use are accepted.
To do this, place a tick next to “Accept terms of use” and then click on “Continue”.
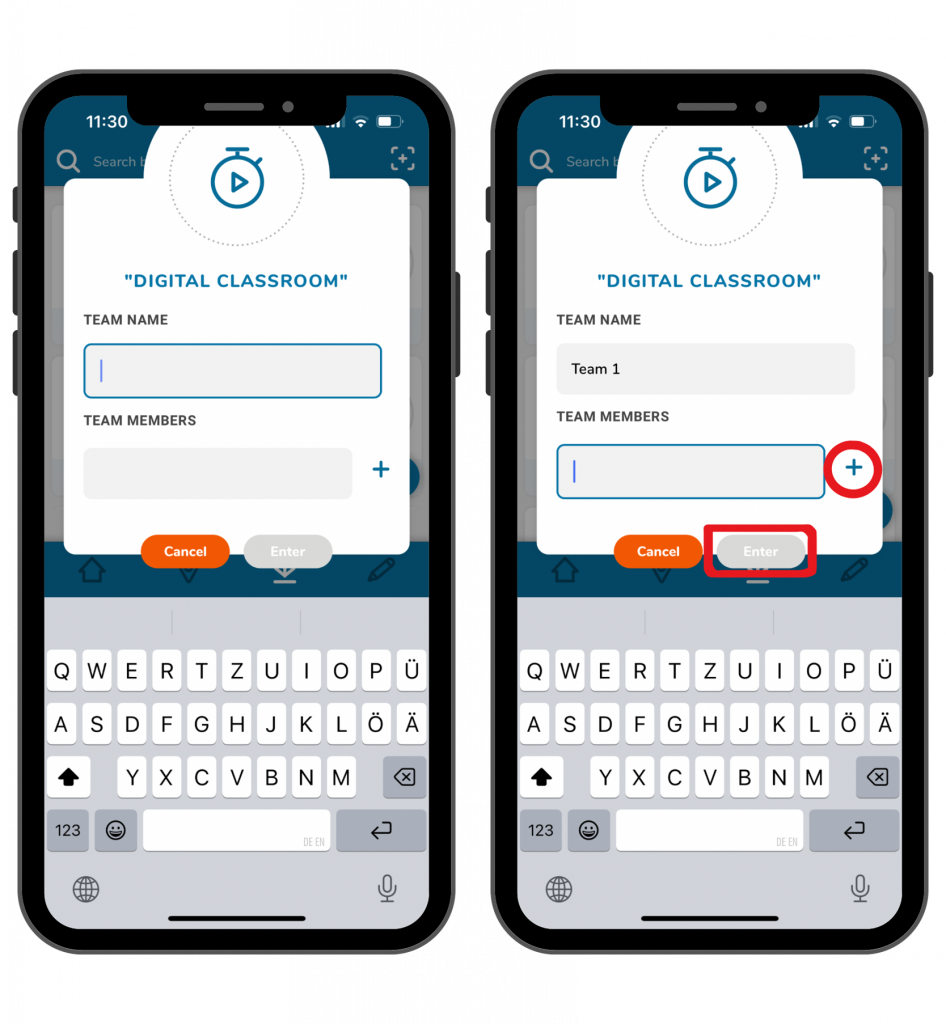
Step 4 – Team Name
Choose a team name in your group and put it in the first field.
Enter the names of your team members in the second field. Click the plus symbol to add additional members.
Then click “Enter” to join the session.
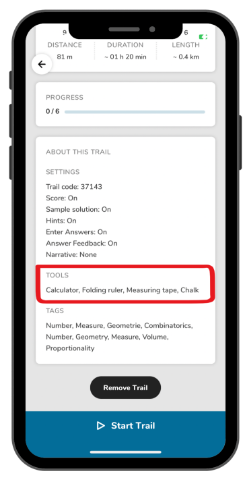
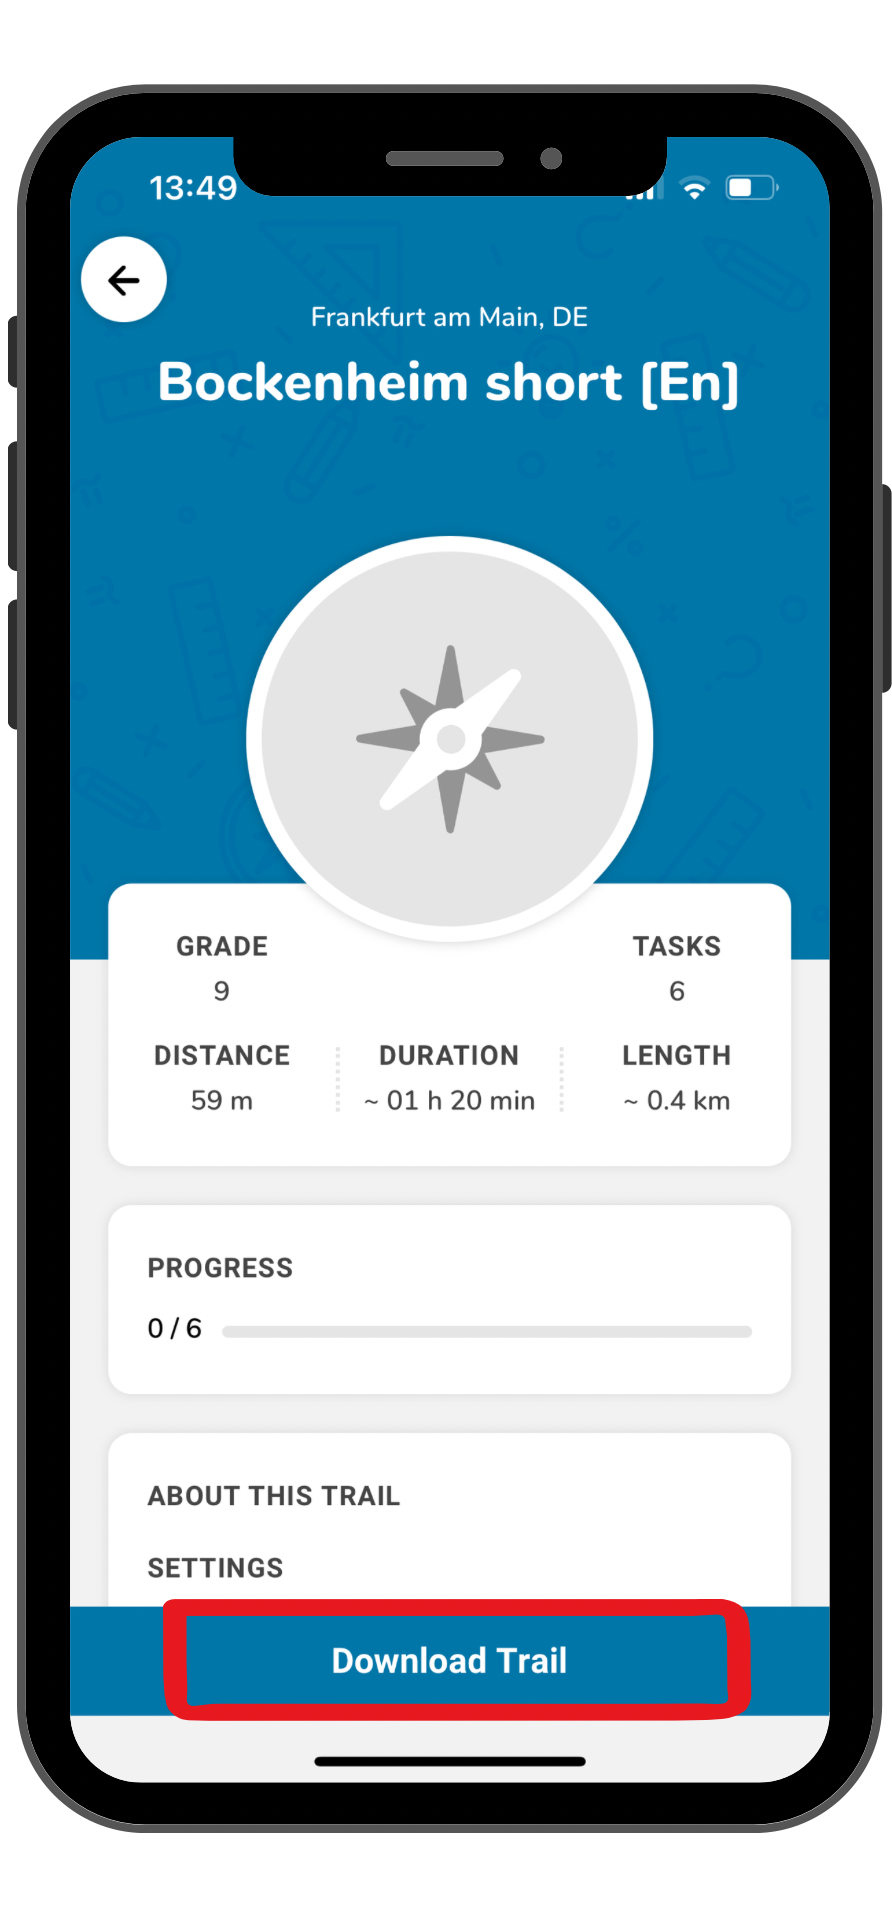
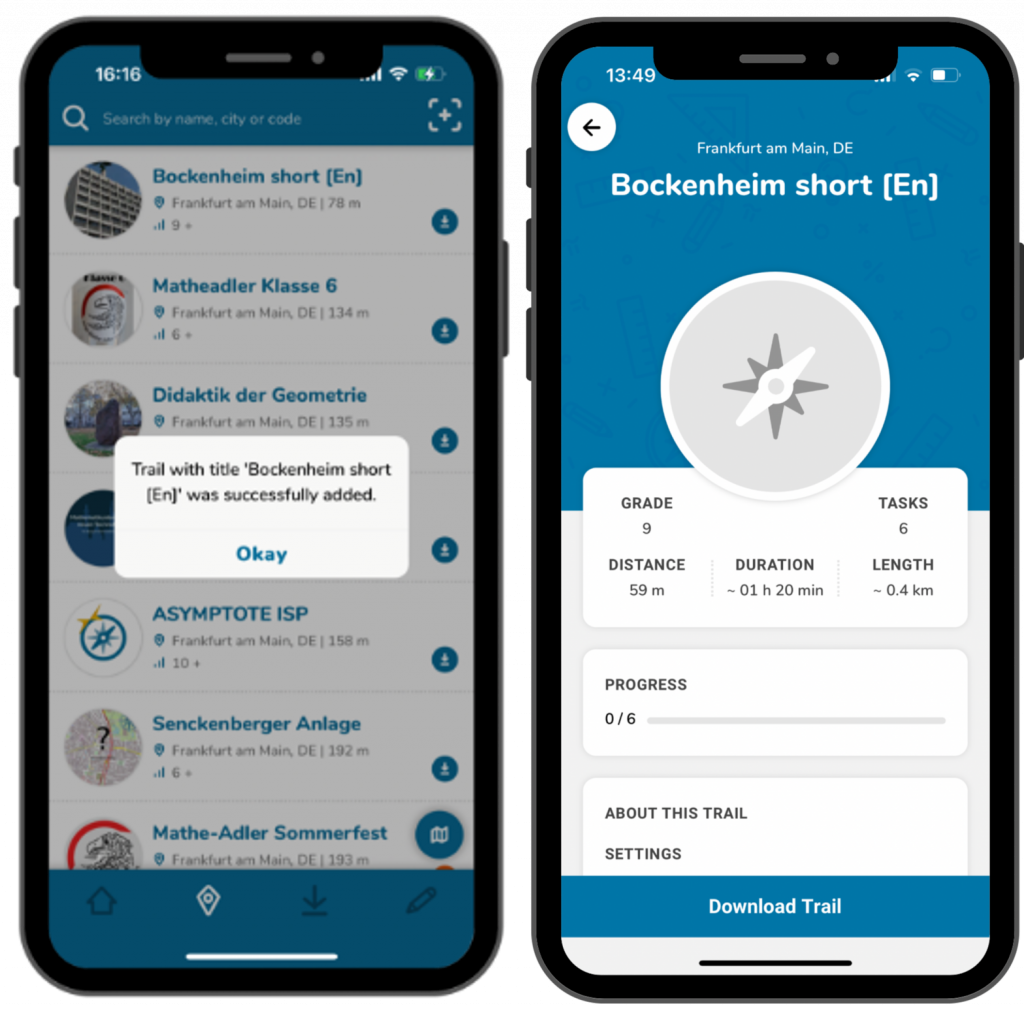
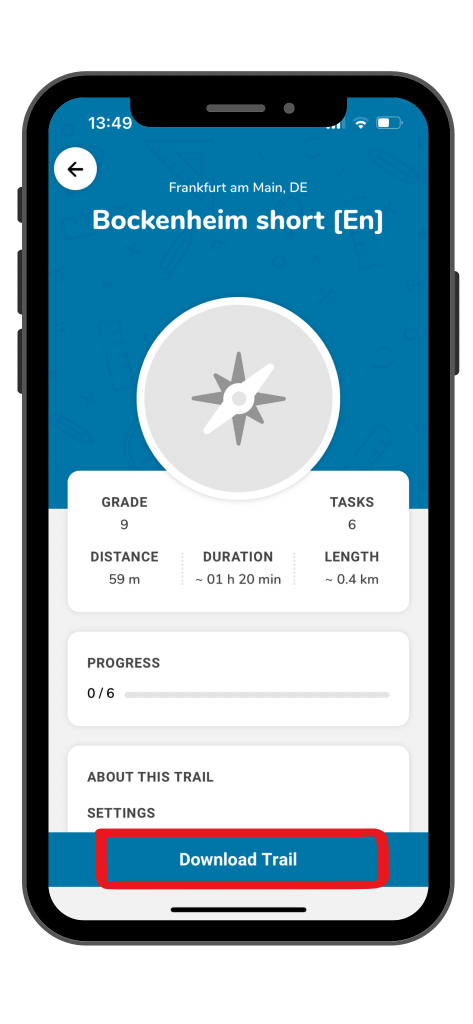
Step 5 – Download Trail
You will be shown all the important information about the digital classroom trail.
Click on the blue “Download trail” button at the bottom of the screen to save the trail.
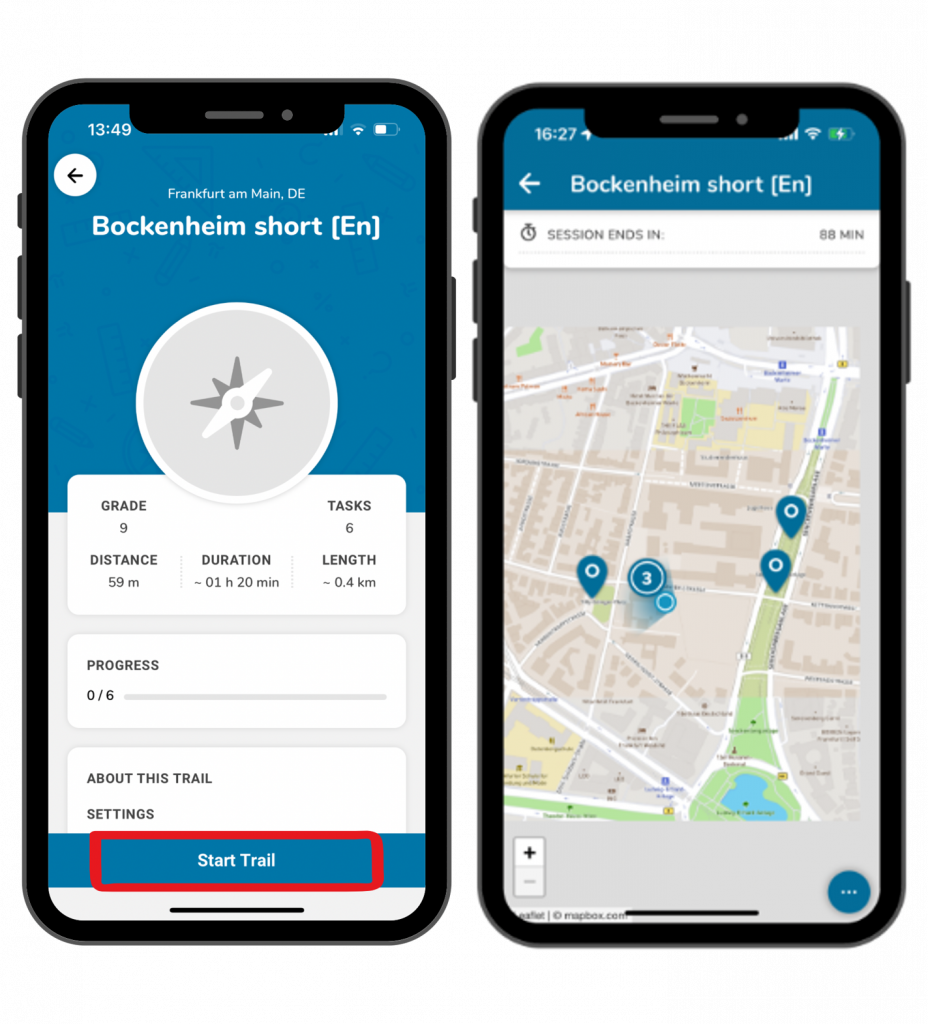
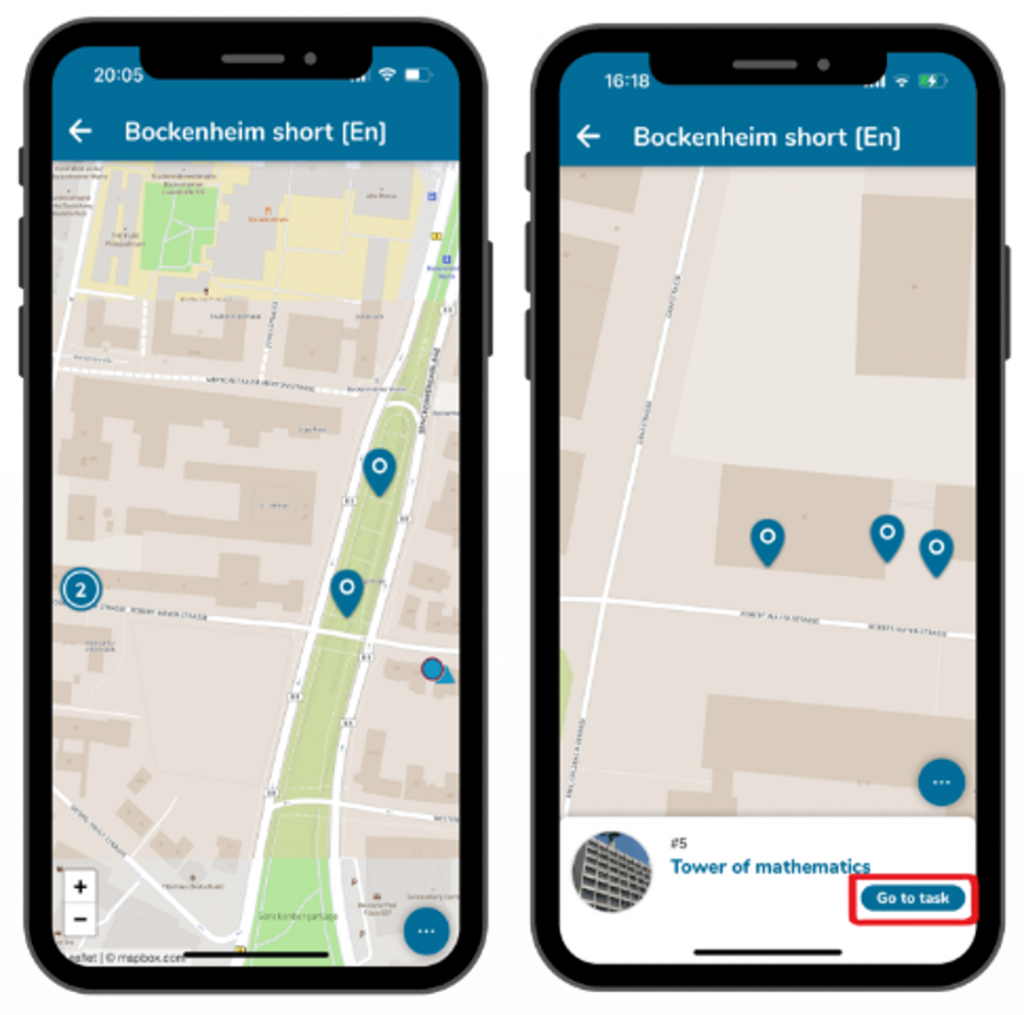
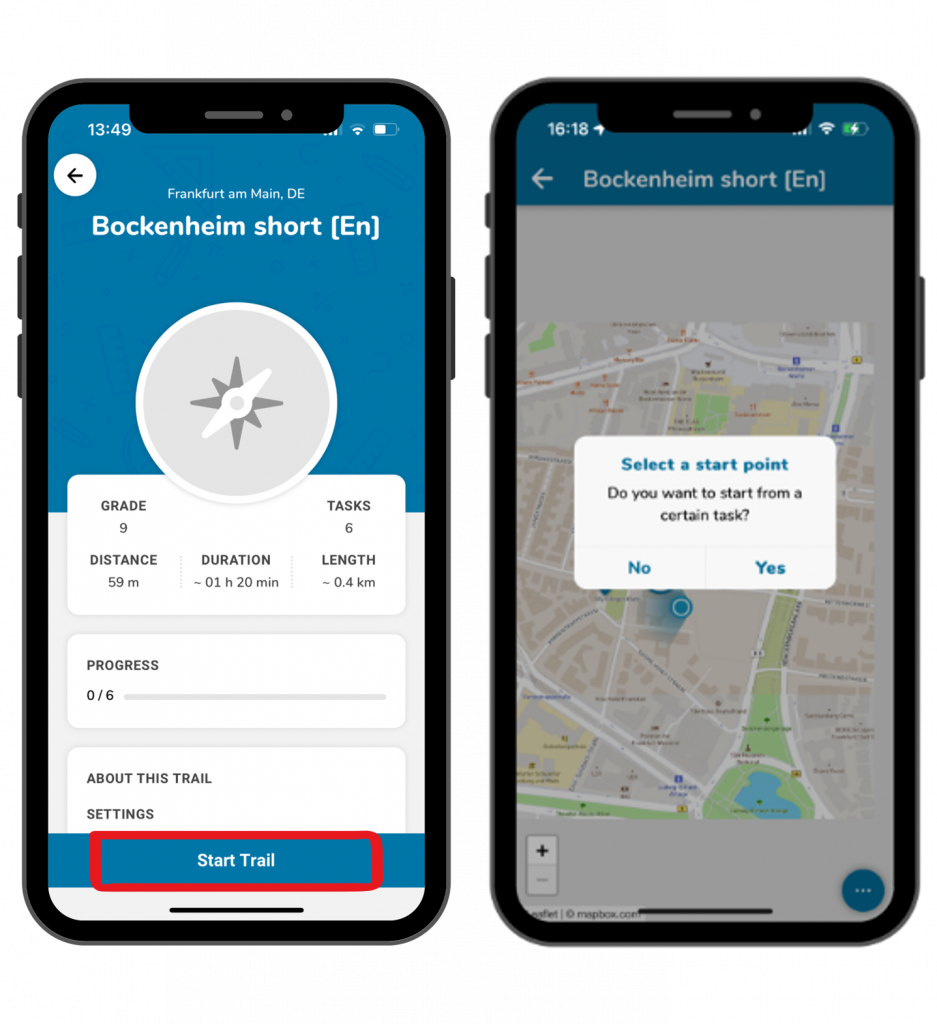
Step 6 – Start the Trail
The blue button then changes to “Start trail”. Click on it to start walking the trail.
A map view with the tasks will open.