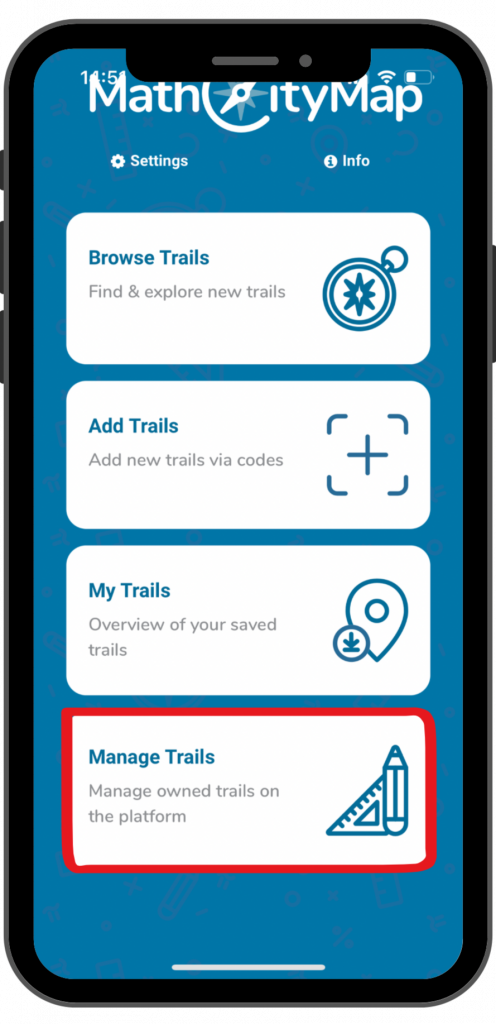
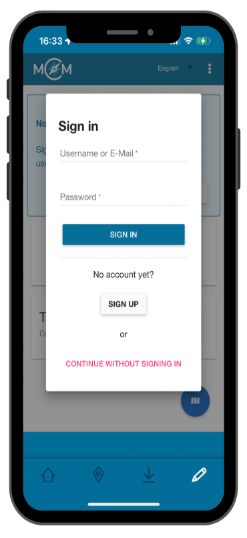
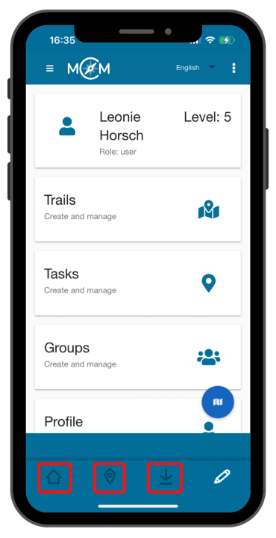
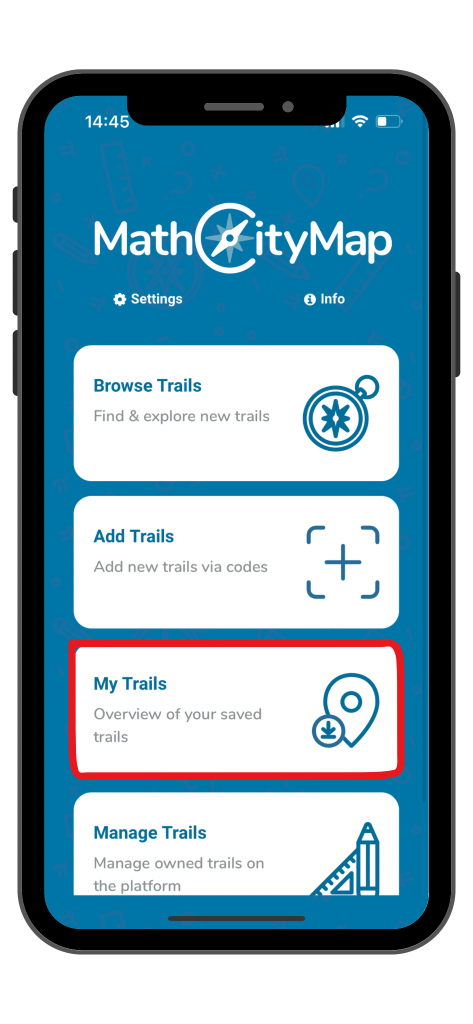
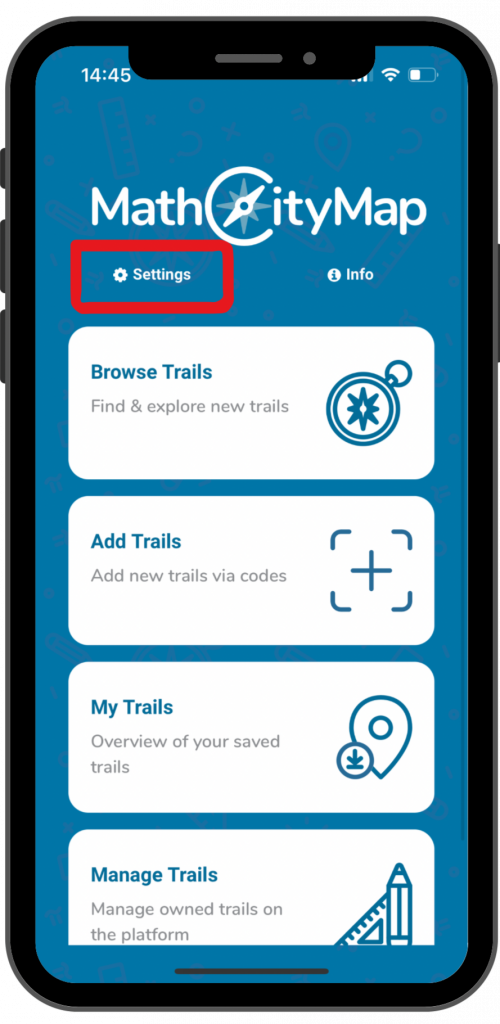
Step 1 – Open settings
Click on “settings” next to the cogwheel symbol at the top left of the start screen.
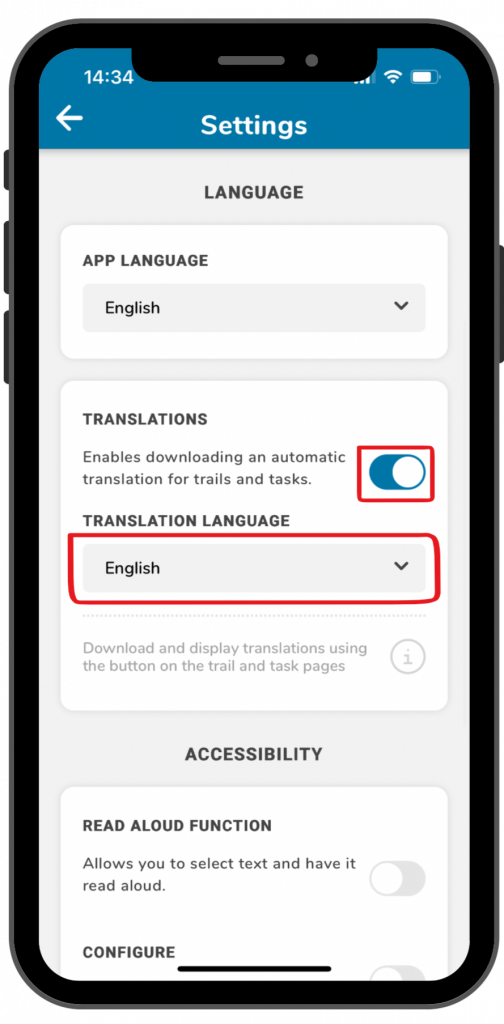
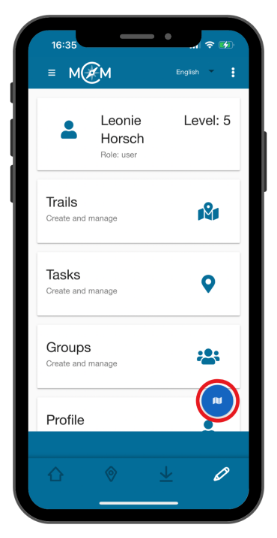
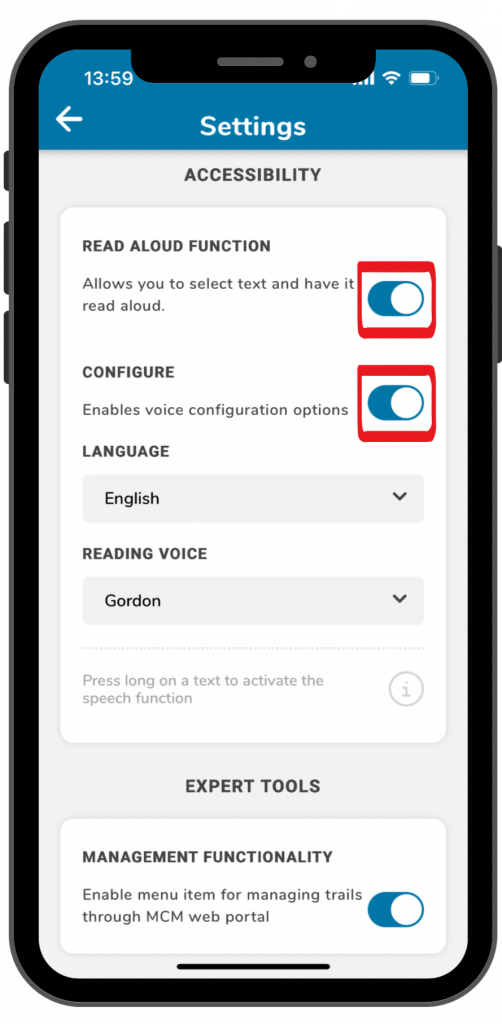
A view with various setting options will open.
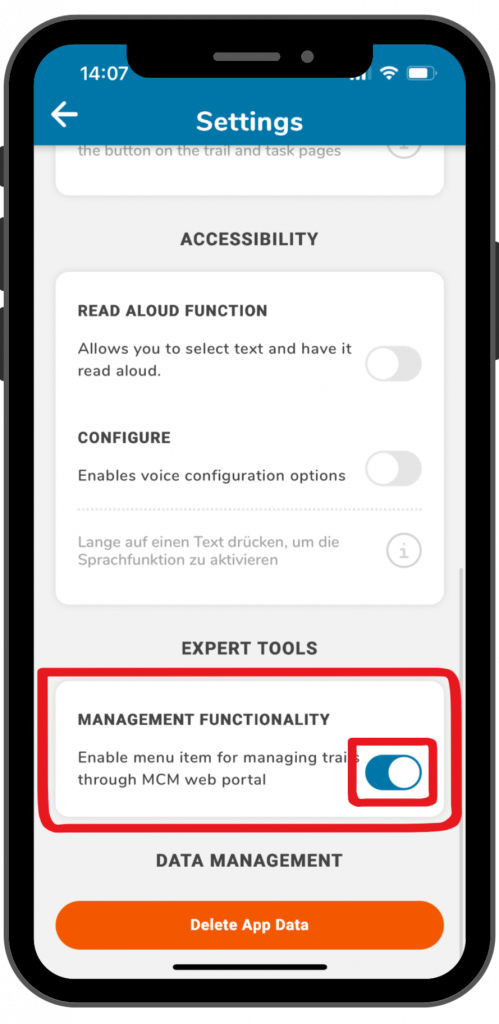
Step 2 – Activate read aloud function
Under the title “accessibility” you will find the read aloud function.
Click on the switch on the right side to activate the function.
By clicking on the switch next to “configure”, you can select different languages and voices.
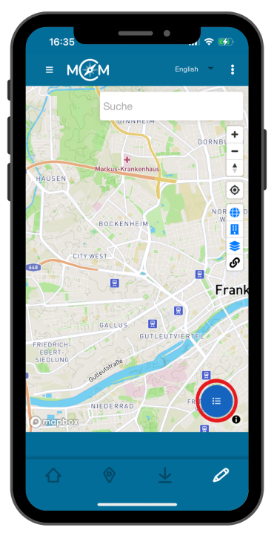
Step 3 – Use read aloud function
As soon as the read aloud function is activated, you can use it in the app. This works for trail information and task assignments.
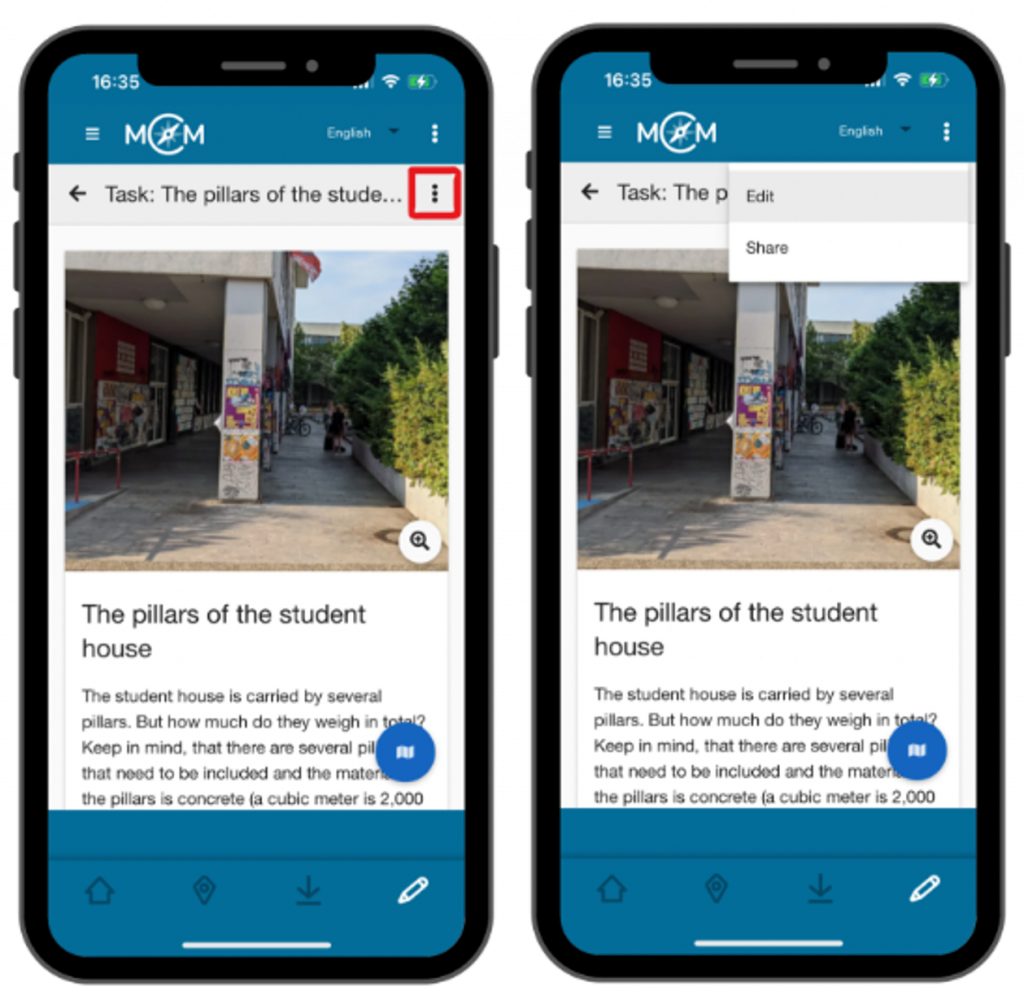
To use the read aloud function you have to click on the text for a longer time.
A yellow field will come up at the bottom of the screen. By clicking on the arrow, the read aloud process will be repeated. By clicking on the X, the yellow field will disappear.