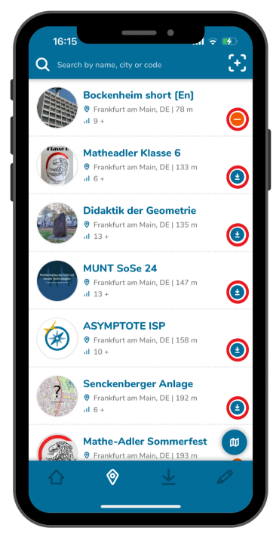
Step 1 – Downloading via Browse Trails
When trails are displayed in list format, click the download icon on the right to download the trail.
Alternatively, click on the trail to view its details first.
At the bottom of the screen, click “Download Trail” to save it.
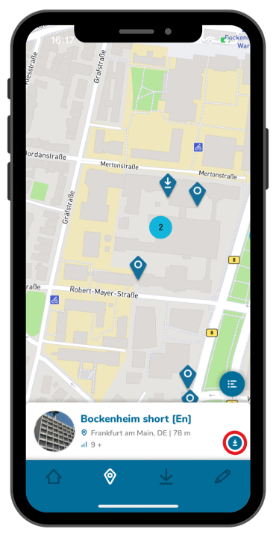
If you’re searching for a trail on the map, you’ll find a download icon on the right as well or in the trail’s detail view.
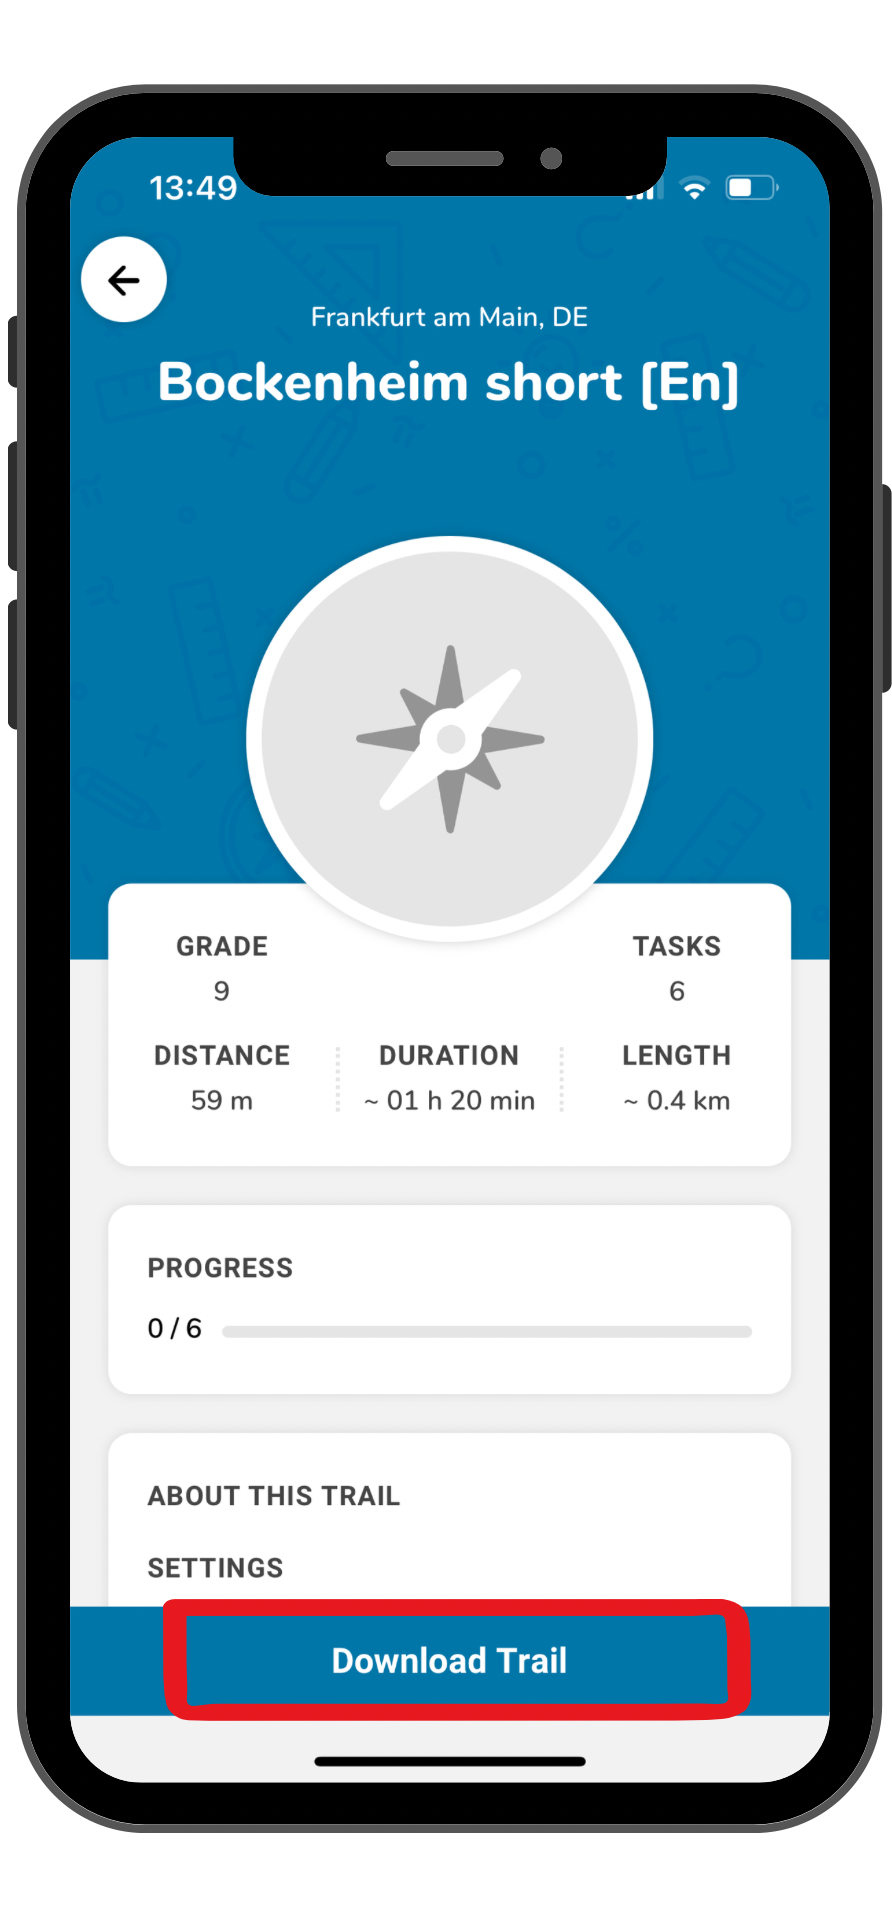
Step 2 – Downloading via Add Trails
After adding a trail, its information will be displayed.
At the bottom of the screen, click “Download Trail” to save it.
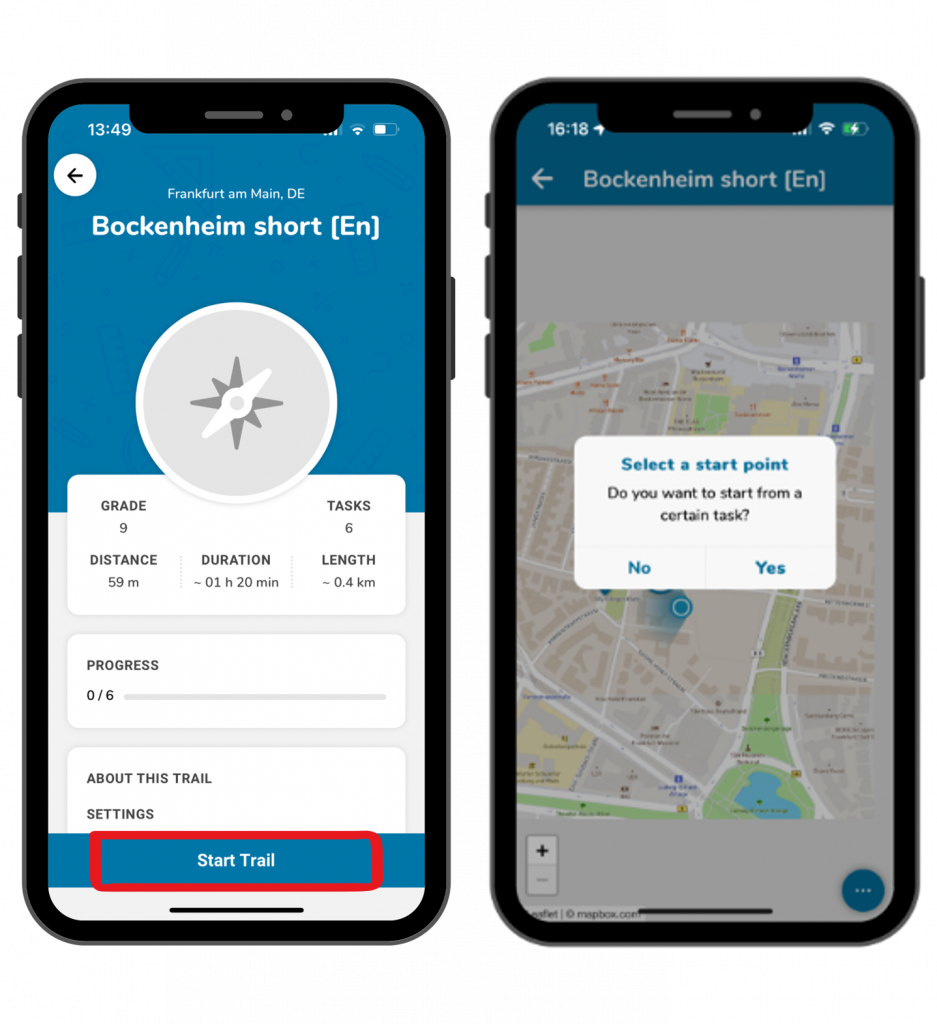
Step 3 – Start the Trail
Once the trail is downloaded, the blue button at the bottom of the screen changes to “Start Trail.” Click it to begin.
You’ll be asked if you want to start from a specific task. This is useful when multiple groups are participating, so they do not all begin at the same point.
Clicking “Yes” lets you choose a starting task.
Clicking “No” displays all tasks on the map so you can pick one, such as the one closest to your location.